Back Office: EMV Payment Settings
Navigation: Sign
into the Back Office for your store. On
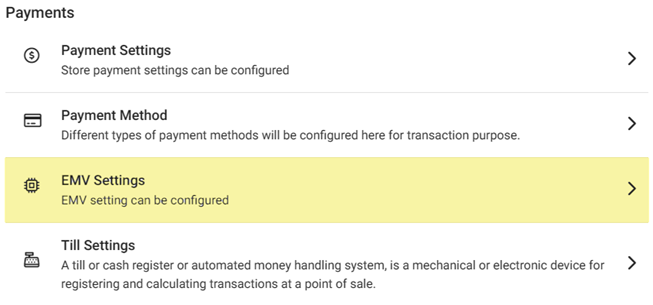
the left-side select Settings. On the Settings page, under Payments select EMV Settings.
The EMV Settings page appears and displays a table which contains all current EMVs under the Store.
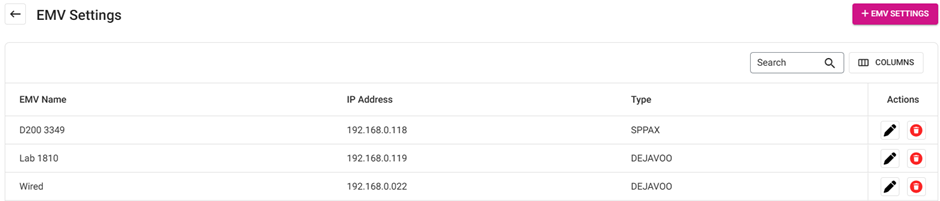
- If no EMVs have been added, the message ‘EMV
Settings not found’ appears.
- Action – Actions to
perform on an existing EMV Setting. Click Edit (pencil) to view
the EMV Settings and update accordingly - or Delete (trash can)
to delete it.
- Note: The Type and supporting fields of an existing EMV cannot be edited.
Create or Update an EMV
- Click + EMV Settings to create a new EMV (or the corresponding pencil to update an existing EMV). The New/Update EMV Settings pane appears.
- Name – (Mandatory) Enter the name in the field. It will be displayed in POS and can’t be more than 25 characters.
- IP Address – (Mandatory) Enter the IP Address in the field. Accepts letters and numbers.
- Type – Select an option from the dropdown (previously configured list). Additional fields will appear based on the selection.
- SP-PAX – Select a Serial Number from the dropdown. Based on this selection only SPPAX will be configured with POS. Select whether it’s a Go Device from the toggle (Enabled [YES] or Disabled [NO]).
- OPTOMANY, INGENICO, or CLOVER – The Port number will be configured and set by default. Click ▲ or ▼ to increase or decrease the value by 1.
- MONERIS – The Port number will be configured and set by default. Click ▲ or ▼ to increase or decrease the value by 1. Then select the Device Type from the dropdown.
- EVERTEC – Update the Port number and Terminal ID for the Evertec type.
- DEJAVOO – Enter the Auth Key, TPN and Token.
- Click Save to create the new EMV Setting and return to the main EMV Settings page. It will be added in POS and appear in the EMV Setting table.
- Click X Close at the top right (or Cancel at the bottom left) to cancel creating the new EMV and return to the main EMV Settings page.
Related Articles
Retail Back Office: EMV Payment Settings
Navigation: Sign into the Back Office for your Retail Store. Click Settings, then on the Settings page under Payments click EMV Settings. The EMV Settings page displays a table of EMV Settings currently existing for this Store. If no EMVs have been ...Retail Back Office: Admin - Accounts
Navigation: Log in BO Admin then select Accounts > Accounts The Accounts page is broken down into the following tabs: Account Stores Account The Accounts tab displays the total number of Accounts, along with a table containing rows representing each ...Retail POS: Customer Display Hardware Settings
On the Hardware Settings screen, select the Card Reader tab. The screen displays the device name of the Customer Display which is connected to the POS. Back Office License Settings Navigation: Log into Enterprise, then select Settings. Under Licenses ...POS: Operation - Customer Display Hardware Settings
Back Office CDS Back Office Settings For more information, see the CDS Back Office Settings Knowledge Article. License Settings Navigation: Log into Enterprise, then select Licenses > License Settings To integrate CDS with the POS of a Store: the ...Back Office: Payment Method Settings
Navigation: Sign into the Back Office for your Store. On the left side, select Settings. The Settings page appears. Under Payments select Payment Method. The Payment Methods page displays a table of all existing Payment Methods under the Store. If no ...