Back Office: Inventory - Adjust Inventory
Navigation: Sign
into the Back Office. On the left-side, select Inventory
then Adjust Inventory.
The Adjust Inventory page appears, with tabs for Inventory Item, Retail Item and Sub-Recipe. At the upper-right, buttons for Download Template, Upload Inventory Count, and + Bulk Adjustment appear. Each tab will display a table with the following columns:
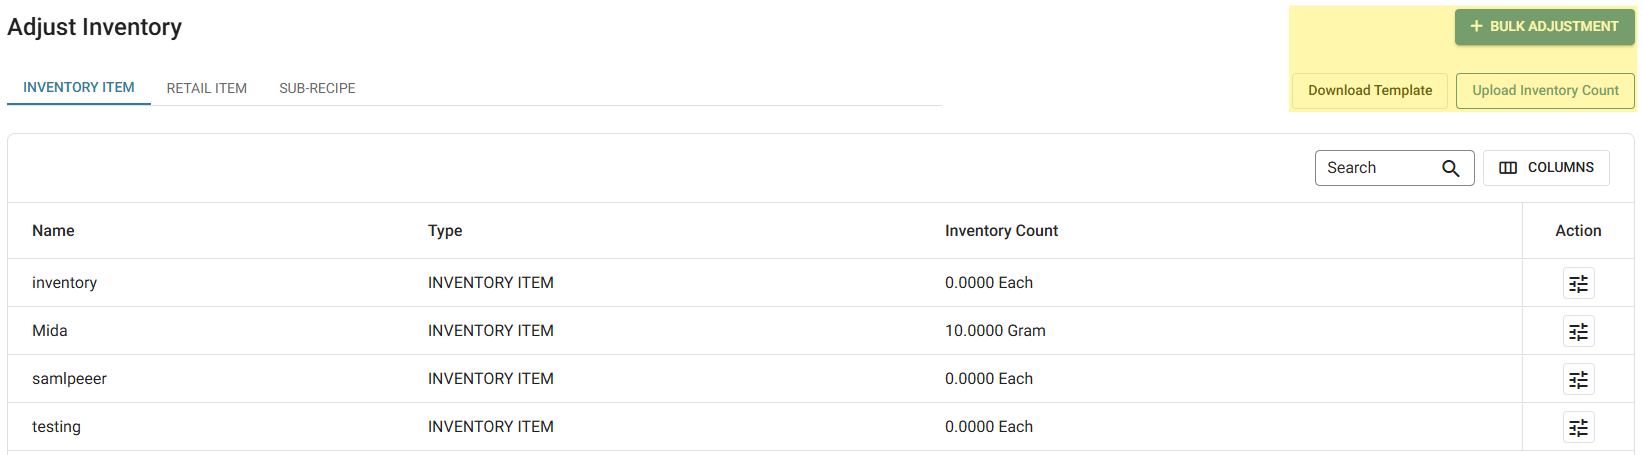
- Name – The name of the inventory item which has been created in the Inventory section.
- Type – The type will be displayed (Inventory Item, Retail Item or Sub-Recipe).
- Inventory Count – The available quantity of the inventory Item will be displayed.
- Actions – The reason type can be Tuned (Adjusted).
Bulk Adjustment
When the + Bulk Adjustment button is clicked, the table view is replaced with a new table containing the following columns:
Inventory Item Tab or Retail Item Tab
- Name – The Name of the adjust inventory Item.
- Vendor Name – Vendor name of the item or sub recipe of the adjust inventory.
- Brand – The brand name of the vendor.
- Inventory Count – The corresponding amount of inventory for the Item.
- Reason – A dropdown containing the created Adjust Inventory reasons. It is filled in with a temporary greyed out Select Reason by default.
- Available – Can be filled in only after a corresponding Reason is selected. Enter the Amount (you can use ▲/▼ to increase/decrease the amount).
- Unit – The item’s unit of measurement (Grams, KG, each, etc.).
- Notes – Any notes about the adjustment can be added here.
Sub-Recipe Tab
- Name – The Name of the adjust inventory Sub Recipe.
- Inventory Count – The corresponding amount of inventory for the Sub Recipe.
- Reason – A dropdown containing the created Adjust Inventory reasons. It is filled in with a temporary greyed out Select Reason by default.
- Available – Can be filled in only after a corresponding Reason is selected. Enter the Amount (you can use ▲/▼ to increase/decrease the amount).
- Unit – The item’s unit of measurement (Grams, KG, each, etc.).
- Notes – Any notes about the adjustment can be added here.
- Select the <- button at the upper-left next to Bulk Adjust Inventory to return to the main Adjust Inventory page without applying updates.
Inventory Adjustment
Inventory Item Tune (Adjust)
Sub-Recipe Tune (Adjust)
Inventory Item Tune (Adjust)
- Identify the item to adjust, then under the Actions columns select the Tune button.
- The Adjust Inventory pane appears with fields filled in based on information from the selected row.
- All fields – except for General and Vendor Name – can be edited.
- Name – The name of the Inventory Item when created (not editable).
- Reason Type – (Mandatory) Select a reason from the dropdown list of options created from Adjust Inventory Reason. No other updates can be made until a Reason Type is selected.
- Vendor and Count – The name of the Vendor appears, and the Count (amount) can be updated.
- Adjustment Notes – Type any relevant notes needed to clarify this adjustment.
- Update – The button will be disabled (greyed out) until Reason Type and other fields are edited. When enabled and selected, you’re returned to the main Adjust Inventory screen where the confirmation banner appears at the upper-right.
- Select Cancel / Close to return to the main Adjust Inventory screen without making updates.
Sub-Recipe Tune (Adjust)
- Identify the Sub Recipe to adjust, then under the Actions columns select the Tune (Edit) button.
- The Adjust Inventory pane appears with fields filled in based on information from the selected row.
- All fields – except for General and Vendor Name – can be edited.
- Name – The Name of the Sub-Recipe Item (cannot be edited).
- Reason Type – (Mandatory) Select the reason type (created from the Adjust Inventory Reason screen) from the dropdown. No other updates can be made until a Reason Type is selected.
- Existing Inventory Count – The quantity of the sub-recipe inventory item (can be updated).
- Adjustment Notes – Type any relevant notes for the Sub-Recipe Item.
- Update – The button will be disabled (greyed out) until Reason Type and other fields are edited. When enabled and selected, you’re returned to the main Adjust Inventory screen and the message ‘Stock adjusted successfully’ appears at the top-right.
- Select Cancel / Close to return to the main Adjust Inventory screen without making updates.
Download Template and Upload Inventory Count
- Select the + Download Template button to download the Template (AdjustInventoryItem.xlsx) containing data of Items or Sub Recipes.
- Tip: Remember where the template file is saved to make uploading the updated file easier.
- Update any info in the file as needed, then save the file.
- Return to the Adjust Inventory page in the Back Office, then click Upload Inventory Count. Navigate to where the saved file is located, then double-click the file (or click then select Open).
- A confirmation banner appears at the upper-right, and after a few minutes the Bulk Adjustment of the Store's inventory will be reflected in the Back Office, as per the data entered in the file you uploaded.
Related Articles
Retail Back Office: Inventory - Adjust Inventory
Navigation: Sign into the Back Office for your Retail Store, then select Inventory > Adjust Inventory. The Adjust Inventory screen appears, with the Retail Item tab. Buttons for Download Template, Upload Inventory Count, and + Bulk Adjustment appear. ...Back Office: Inventory - Adjust Inventory Reasons
Navigation: Sign into the Back Office. On the left-side, select Inventory then Adjust Inventory Reasons. The Adjust Inventory Reasons page appears, with the previously created Adjust Inventory Reasons appearing in a table which contains the following ...Retail Back Office: Inventory - Adjust Inventory Reasons
Navigation: Sign into the Back Office for your Retail Store, then select Inventory > Inventory Reasons. The Adjust Inventory Reasons screen appears, with the created Reasons appearing in table format containing the following columns: Name – Displays ...Back Office: Inventory Reports
Navigation: Log into the Back Office and select a Store. On the left side, select Reports > Inventory Reports. On the Inventory Reports dashboard, select a tab: Master Stock Purchased Item Consumption Log Compare Inventory Count Sheet COGS Adjust ...Reatil Back Office: Inventory Reports
Navigation: Log into the Back Office for your Retail Store, then select Reports > Inventory Reports. The Inventory Reports page is organized into multiple tabs: Master Stock Purchased Item Consumption Log Compare Inventory Count Sheet COGS Adjust ...