Back Office: Kiosk Addon Settings
Navigation: Sign into the Back Office for your Store. On the left-side, click Settings. The Settings page appears. Under Addons click Kiosk.
The
Kiosk screen is in 2 sections: Accepted Payment Types and Style
Settings.
Accepted
Payment Types
Determine which payment types will be accepted at the
Kiosk: Enabled (YES) or Disabled (NO).
- Pax Device (Credit Card) – If enabled, customer can pay with CC at the kiosk.
- Pay at the Counter – If enabled, customer can select the option to pay at the counter.
- Loyalty – If enabled, customer can pay with Loyalty points at the kiosk.
- Gift Card - If enabled, customer can pay with Gift Card at the kiosk.
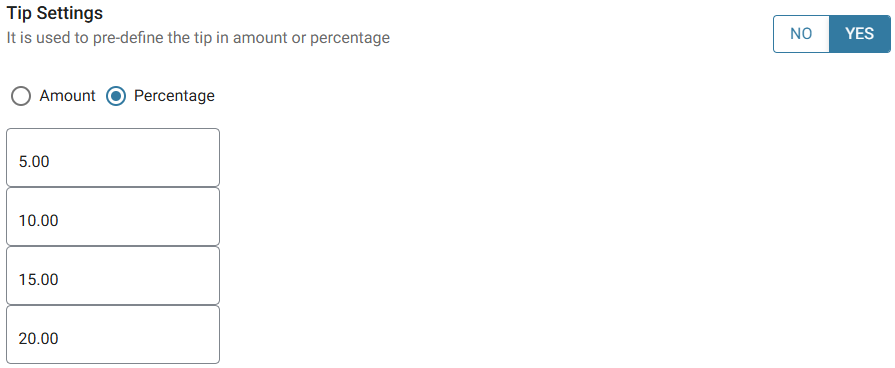
Tip Settings
If enabled, you can pre-define the Tip values. Select Amount or Percentage, then enter the values in the below table.
Theme Settings
Determine the layout and color coordination
of the Kiosk display.
- Pick your theme color – Click the colorized square and the color picker pop-up appears. You can select a Standard Color then select a shade within the rectangle and select from the color spectrum slider.
- Choose kiosk layout – Select from the options of how you’d like the areas for Category, Item and Checkout to be laid out.
- Choose List Style - Select how you'd the list to be viewed on a Kiosk device.
- Home Screen Background – Select the images you’d like to appear as the background for Landscape and Portrait view.
- For Portrait and Landscape - Click the corresponding image upload button
then navigate to where the image is saved (must be .jpg or .png file and cannot exceed 5 MB file size) and double-click the image (or single-click and click Open).
- Portrait – Recommended resolution of 3000px (width) X 1687px (height).
- Landscape – Recommended resolution of 1687px (height) X 3000px (width).
- When updates to the Kiosk settings are complete, click Save at the upper-right. The settings are saved, and you’re returned to the main Settings screen.
Related Articles
Back Office: Feedback App Addon Settings
Navigation: Sign into the Back Office and select a Store. On the left-side Navigation Panel, click Settings. The Settings page appears. Under Addons click Feedback App. The Feedback App page contains the option to add up to 2 questions with up to 4 ...Retail Back Office: Feedback App Addon Settings
Navigation: Sign into the Back Office and select a Store. On the left-side Navigation Panel, click Settings. On the Settings page, under Addons click Feedback App. The Feedback App page contains the option to add up to 2 Questions with up to 4 ...Retail Back Office: Scale Barcode Addon Settings
Navigation: Sign into the Back Office for your Retail Store. On the left-side Navigation Panel, click Settings. On the Settings page, under Addons click Scale Barcode. The Scale Barcode screen contains a table with columns for Name, Prefix/Variable ...Back Office: Scale Barcode Addon Settings
Navigation: Sign into the Back Office for your Store. On the left-side, click Settings. The Settings page appears. Under Addons click Scale Barcode. The Scale Barcode screen contains a table with columns for Name, Prefix/Variable Type, PLU Code, ...Retail Back Office: Customer Display Screen (CDS) Addon Settings
Navigation: Sign into the Back Office and select a Store. On the left-side Navigation Panel, click Settings. On the Settings page, under Addons click Customer Display System (CDS). The Customer Display System (CDS) settings screen enables you to ...