Back Office: Kitchen Printer Receipt Template Settings
Navigation: Sign
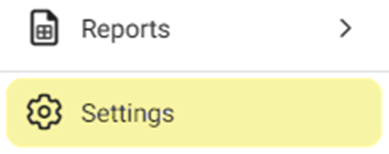
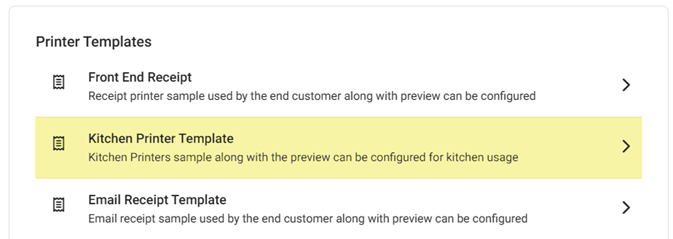
into the Back Office for your Store. On the left side, click Settings. On the Settings page, under Printer Templates click Kitchen Printer Templates.
The
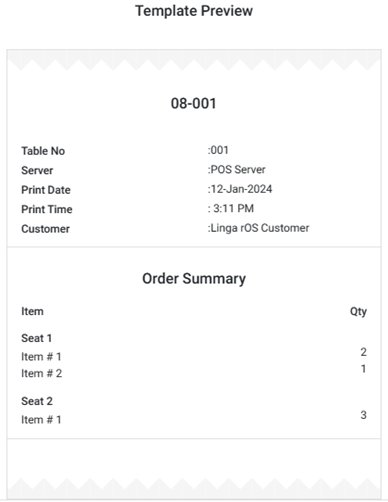
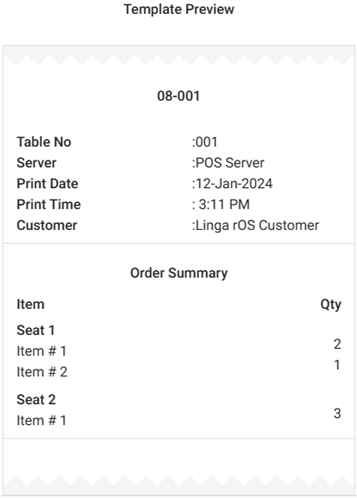
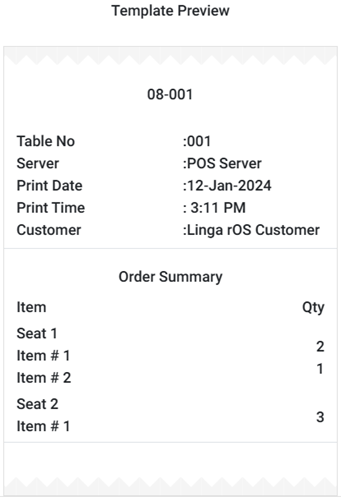
Kitchen Printer Template page contains multiple Template customization options,
along with a Preview. Configure what you would like to print on the Kitchen Chit.
Select
a Font Size - Small (Default), Medium or Large. The
size selection will be instantly reflected in the Template Preview on
the right-side of the page.
- For Medium, you have the option to select a Font Style from the dropdown (Normal, 2 Height, Sans-Serif).
Store & Check Details
- Store Name – if selected, will appear centered at the very top of the receipt.
- Check Number – if selected, select the Position (Inline or Title).
- Service Type – if selected, select the Position (Inline or Title).
- Table Name, Printer Name, Server Name – The Name (or Number) of the customer’s table, the name of the Printer where the receipt was printed from, and the Server’s name.
- Print Date & Time – The Date and Time the Receipt was printed.
- Customer, PickUp Date & Time – The Customer’s Name, and the expected Date & Time for them to pick up their Order.
Order & Item Summary
- Split By Course – Organizes the receipt items by established Courses.
- Menu Price – Adds the Price column with $ values.
- Quantity – Adds the Quantity (Qty) column with number values, and can appear before or after the name.
- Modifier Print, Short Form, Horizontal View – Adds any Modifier information.
- Other language Menu Name – Displays item names in a designated foreign language.
- Consolidate / Split Menu – Choose whether to display a menu as consolidated with like items or to split out individual items.
- Enable Item – Produces a section below Order Summary that organizes Order Items by each Seat at the Table.
Customer Info
- Select where to present the store’s contact information – Top or Bottom of the Check.
- Choose whether to include the store's Address, Email, and the Phone Number, as well as any Customer Notes which will appear below the Driver Receipt Options section.
Driver Receipt Options
- Enable Driver Receipt – If YES, this section appears below Order / Item Summary and the below options appear.
- Select the No. (Number) of Copies to be produced when printing the receipt.
- Choose whether to include the Total, an option for Tip, a Signature line and Balance Due.
- Remember: Any Customer Notes will appear in this section.
Additional Details
a
After all needed updates have been made, click Update at the upper-right.
Related Articles
Back Office: Label Template Settings
Navigation: Sign into the Back Office and select a Store. On the left side, select Settings. On the Settings page, under Printer Templates select Label Templates. The Label Template screen contains template options as tabs, along with a Template ...Retail POS: Printer Hardware Settings
Back Office For more information on Printer and Receipt Template settings, see the following Knowledge Articles: Receipt Printers Front End Receipt Template Label Template POS On the Hardware Settings page, select the Printer Settings tab. It ...POS: Operation - Printer Hardware Settings
Back Office For more information on Printer and Receipt Template settings, see the following Knowledge Articles: Receipt Printers Kitchen Printers Kitchen Receipt Template Assigning a Kitchen Printer to a Menu Item Navigation: Log into BO, select a ...Retail Back Office: Email Receipt Template Settings
Navigation: Sign into the Back Office for your Retail Store. On the left-side Navigation Panel, click Settings. On the Settings page, under Printer Templates select Email Receipt Template. The Email Receipt Template page is for configuring what you ...Back Office: Email Receipt Template Settings
Configure what you would like to include on the Email Receipt Navigation: In the Back Office, on the left-side click Settings. On the Settings page, under Printer Templates select Email Receipt Template. The Email Receipt Template page contains ...