Back Office: Marketing - Settings
Sign
into the Back Office and select a Store.
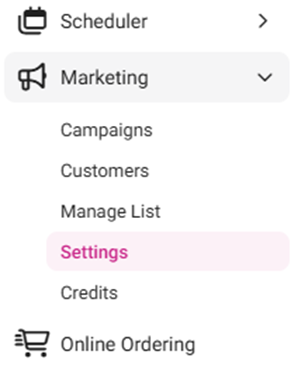
Onhe left-side Navigation
Panel, select Marketing then Settings.
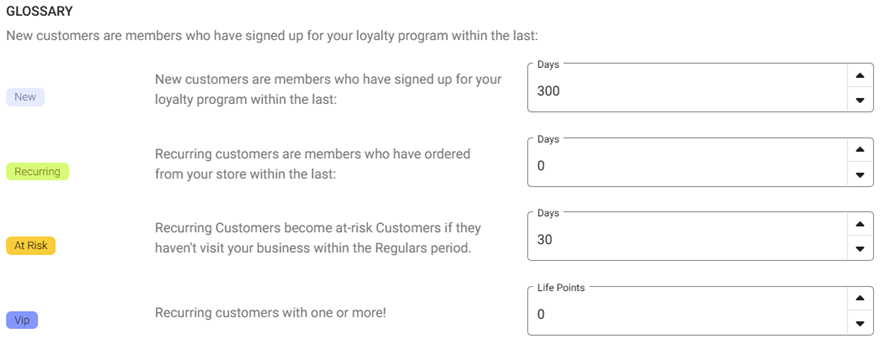
The
Settings page contains options to quantify the thresholds for types of
Customers. Enter the number for each field, or use ▲/▼ to increase/decrease the
value.
New: Customers who have signed up
as Members of your loyalty program within the last entered number of Days.
Recurring: Members who have
ordered from your store within the last entered number of Days.
At Risk: Members who haven’t visited
your business within the last entered number of Days.
VIP: Recurring
customers with one or more Life Days.
Life
Points
are a total accumulation of all earned Loyalty points
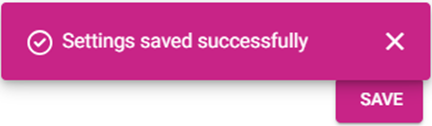
When
satisfied with all values, click Save at the upper-right. The settings will be saved and the ‘Settings
Saved Successfully’ confirmation banner appears.
Related Articles
Retail Back Office: Marketing - Settings
Navigation: Sign into the Back Office for your Retail Store, then select Marketing > Settings The Settings page contains options to quantify the thresholds for types of Customers. Enter the amount for each field, or use ▲/▼ to increase/decrease the ...
Back Office: Marketing - Customers
Navigation: Sign into the Back Office for your Store. On the left-side, select Marketing then Customers. Marketing Customers Overview The Customers page appears, displaying the details of all Customers that have received Marketing communications from ...
Back Office: Marketing - Campaigns
Navigation: Sign into the Back Office for your Store. On the left-side, select Marketing then Campaigns. The Campaigns screen displays a table containing the created marketing campaigns, with the following columns: Name: The name of the campaign. ...
Retail Back Office: Marketing - Customers
Navigation: Sign into the Back Office for your Retail Store, then select Marketing > Customers. The Customers page appears, displaying your customers’ details. Tiles appear at the top of the page, representing the Total number of Customers – then ...
Retail Back Office: Marketing - Campaigns
Navigation: Sign into the Back Office for your Retail Store, then select Marketing > Campaigns The Campaigns screen displays a table containing the created Marketing campaigns, with the following columns: Name: The name of the campaign. Created: The ...