Back Office: Payment Till Settings
Navigation: Sign
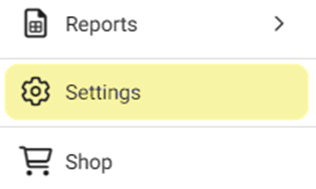
into the Back Office for your Store. On the left side, click Settings. On the Settings page, under Payments select Till Settings.
On
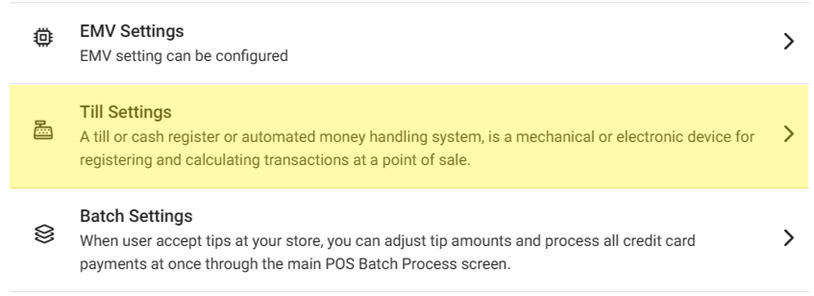
the Till Settings page, select one of the tabs:
Till Settings
Denominations
Close Till
Till Settings
- Automatic Global Till – When Enabled (YES), the POS system will automatically open the overall till in it.
- If enabled, enter the Global Till Opening Balance in the textbox provided (not mandatory). This is the amount that the till will automatically open with.
- If disabled (NO), the opening balance will not be available.
- Force Cash Out at Clock Out – If Enabled (YES), an the open cash out and till must be closed before punching out in POS. If not, then the pop-up will be displayed in POS.
- If disabled (NO), an employee can punch out in POS when there is open cash out and till.
- Restrict Partial Payments – If Enabled (YES), partial payments can't be taken from different tills (applicable to Global Till only).
- If disabled (NO), partial payments can be taken from different tills.
- Bank Deposit – If Enabled (YES), then bank deposit details will be provided on the till. If + Bank Deposit is clicked, the New Bank Deposit pane appears.
- On the New Bank Deposit pane:
- Enter the Deposit Amount (mandatory).
- Enter the Business Date (mandatory, the Date that the Amount was deposited).
- Close - At the top-right. If clicked, the pane is closed and you’re returned to the Till Settings screen.
- Save – At the bottom-right. If clicked, any changes will be saved. Available only when both mandatory fields are filled.
Denominations
- On the Denominations tab, click + Denomination. The New Denomination pane appears.
- On the New Denomination pane:
- Enter the Display Name.
- Tip: Ensure it is specific (what will be used when you search for a Denomination).
- Enter the Amount (in local currency).
- Click Save at the bottom right. You’re returned to the main Till Settings screen and the Denominations tab, where the newly-created Denomination appears as a row in the table, and the banner 'Denomination Saved Successfully' appears at the upper-right.
- Deleting A Denomination
- Under the Actions column, click the corresponding Trash Can icon of the Denomination you want to Delete. The Delete pop-up appears.
- On the Delete pop-up, click Delete to confirm deletion. If not, click Cancel or X Close.
- If Delete is clicked, you’re returned to the Till Settings screen with the Denominations tab and the banner Denomination Deleted Successfully appears. The Denomination will have been removed
Close Till
- Under the Close Till tab: identify the Till you want to close, then under the Actions column click Close.
- The Reminder pop-up appears asking you to confirm. Click Yes to confirm closing (otherwise click No or X Close to keep it).
- If Yes: the pop-up closes, the Till is closed and removed from the table, and the banner appears as confirmation.
Related Articles
Retail Back Office: Payment Till Settings
Navigation: Sign into the Back Office for your Retail Store. On the left-side Navigation Panel, click Settings. On the Settings page, under Payments select Till Settings. On the Till Settings page, select one of the tabs: Till Settings Denominations ...Back Office: Sales Recap Report Settings
Navigation: Sign into the Back Office for your Store. On the left-side Navigation Panel, click Settings. On the Settings page, under Reports click Sales Recap Report. The Sales Recap Report page contains the following sections: General Guest/Checks – ...Retail Back Office: Sales Recap Report Settings
Navigation: Sign into the Back Office for your Retail Store. On the left-side Navigation Panel, click Settings. On the Settings page, under Reports click Sales Recap Report. The Sales Recap Report page contains the following sections: General ...POS: Operation - Till Management (Till Tab)
The Till tab displays the following sub-tabs: Set Till Active Till Held Till Closed Till Set Till Set Till Setting a Till is entering the amount to Till starts with. Select Set Till, and the Open Till window appears. Enter the Denomination and Tip ...Back Office: Employee Report
Navigation: Sign into the Back Office and select a Store. On the left-side, select Reports then Employee. The Employee report page displays a comprehensive set of data on your staff, with the following tabs: Attendance Role Based Payroll Labor Labor ...