Back Office: Products/Items - Departments
Sign
into the Back Office and select a Store.
On
the left-side Navigation Panel, click Products/Items then Departments.
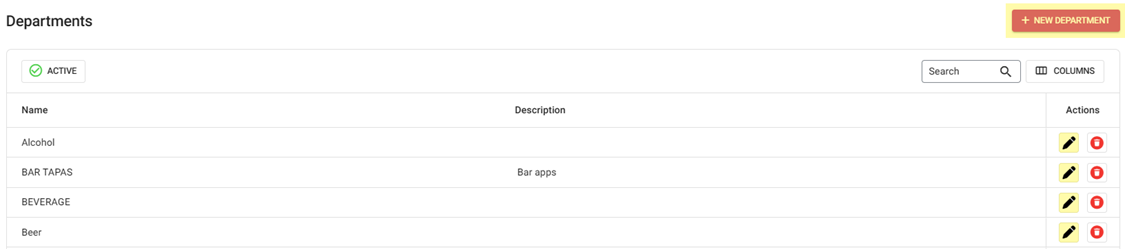
The
Departments screen contains the Departments table with the
following columns:
Name
– The name of the department (entered when creating the dept).
Description
– Basic details about the department (entered when creating the dept).
Actions
– Buttons to Edit (pencil icon) or Delete (trash can) a Dept.
Active - By default, the
button will be set to Active and all Active Departments
appear.
Select Active
to change to Inactive, and shows deleted Departments appear. If
no deleted Departments appear, the message Departments not found
appears in the body of the table.
Select Inactive
to change back to Active. A pop-up appears which shows ‘Are you sure you want to activate this item’
with Cancel and Yes, Activate options.
Yes, Activate:
the ‘… Activated
Successfully’ pop-up appears.
Cancel: the pop-up will be
closed.
Create
a New Department by clicking + NEW DEPARTMENT or edit an
existing Department by clicking the  pencil icon.
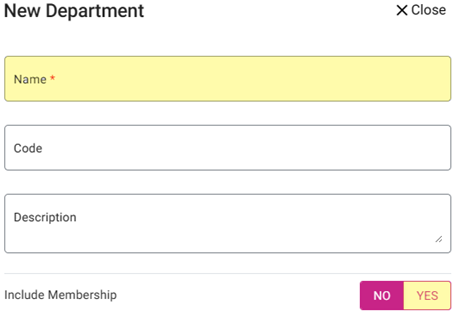
For
a Department:
Enter
the Name (mandatory).
Enter
the Code.
Enter
the Description.
If
applicable, slide the Include Membership toggle on (YES).
Click
Save or Update when finished.
Related Articles
Retail Back Office: Products/Items - Departments
Navigation: Log into the BO for your Store, then select Products/Items > Departments Create a New Department Create a new Department by clicking + New Department. When clicked, the New Department pop up appears: Name - (Mandatory) Enter the name of ...
Back Office: Products/Items - Category
Sign into the Back Office for your Store. On the left-side Navigation Panel, click Products/Items then Category. On the Category screen: create a new Category by clicking + NEW CATEGORY Or update an existing Category by clicking the pencil icon. For ...
Retail Back Office: Products/Items - Category
Navigation: Log into the BO for your Store then select Products/Items > Category. Create a New Category / Update an Existing Category Create a new Category by clicking + New Category. Or update an existing Category by clicking the corresponding ...
Back Office: Products/Items - Products/Items
Navigation: Sign into the Back Office for your Store. On the left-side, select Products/Items then Products/Items. The Products/Items page displays all established Menu Items or Retail Items under the Store. Create or Update an Item To create a new ...
Retail Back Office: Products/Items - Products/Items
Navigation: Log into the BO for your Store, then select Product/Items > Product/Items The Products/Items page appears, which displays a table for Retail Items. Create a New Retail Item (or Update an Existing Retail Item) Click + New Retail Item at ...