Back Office: Store Information Settings
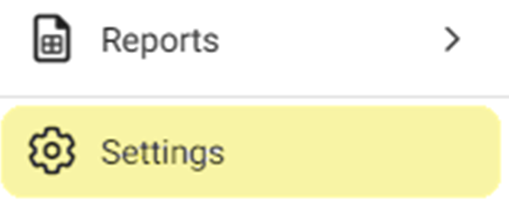
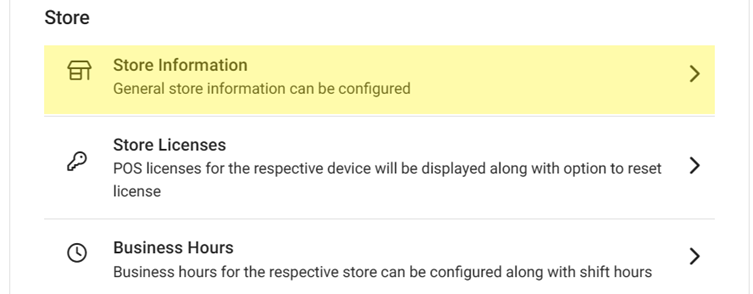
Navigation: Sign into the Back Office for your Store. On the left side click Settings. On the Settings page, under Store click Store Information.
The Store Information page is used for entering the Store's location and contact information.
General
- Store Name – (Mandatory) Enter the Registered Business Name.
- Store ID – Enter any unique Code / Number for the specific store.
- Account Type – (Mandatory) Select Restaurant or Retail from the dropdown.
- Business Type – (Mandatory) Select the service type from the dropdown.
Phone Number – Enter the listed Phone Number for the Registered Business location.- Gift Card Email – Enter the email address that any electronic Gift Cards will be sent from.
Store
Image
- Store Logo. If selected, click the Upload New Image
button and select your file.
- .jpg or .png file
- Maximum of 2 MB
- 400x400 resolution
- The uploaded image will have the Store Name at the bottom.
Language
- Click
the Languages dropdown and select the checkbox of up to 3 languages.
- Select
the Default Language from the dropdown (based off your Languages
selections).
Location
There are 2 methods for entering the store’s Location:
- Click Get My Location to auto fill each Address field based on your current location with the device you’re using.
- Manually enter each Location field: Street, Apt/Suite/etc. (optional), City, State, ZIP.
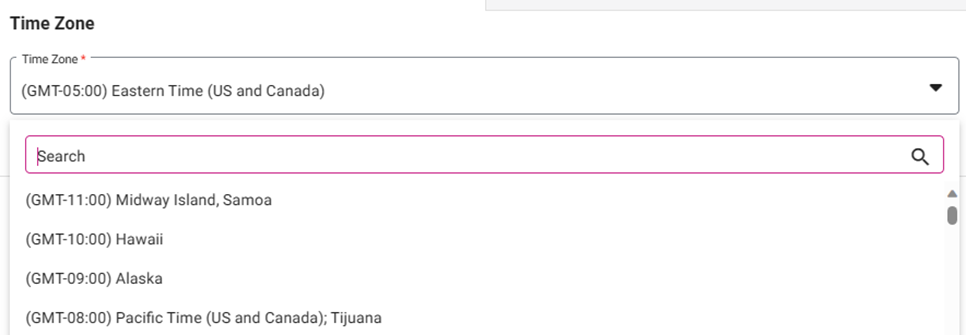
Time Zone
Select
the Time Zone from the dropdown. You can Search to narrow the
options.
Related Articles
Retail Back Office: Store Information Settings
Navigation: Sign into the Back Office for your Retail Store. Select Settings. On the Settings page select Store Information. On the Store Information page, fill in the following fields: General Store Name – (Mandatory) Enter the Registered Business ...Back Office: Store Scheduler Settings
Note: Scheduler must be added to your Account and enabled for your Store. For more information, see the Knowledge Articles: Introduction to Scheduler Account Settings (under Account License Settings) Navigation: Sign into the Back Office for your ...Back Office: Fiscal Integrations Settings
Sign into the Back Office for your Store. On the left-side, click Settings. On the Settings page, under Integrations click Fiscal. The Fiscal Integrations Settings page contains 2 tabs: Settings and Fiscal List. Settings Fiscal List Settings Displays ...Back Office: Inventory Taxes Settings
Navigation: Sign into the Back Office for your Store. On the left side, click Settings. On the Settings page, under Inventory, select Taxes. On the Taxes screen: Enable Taxes Toggle – If Enabled (YES), the ‘Taxes Enabled Successfully’ banner appears ...Retail Back Office: Matrix Report Inventory Settings
Navigation: Sign into the Back Office for your Retail Store. Click Settings, then on the Settings page under Inventory select Matrix Report Settings. On the Matrix Report screen: Profit Threshold Amount – (Mandatory) Enter the threshold value Amount ...