Back Office: Store Scheduler Settings
Note: Scheduler must be added to your Account and enabled for your Store. For more information, see the Knowledge Articles:
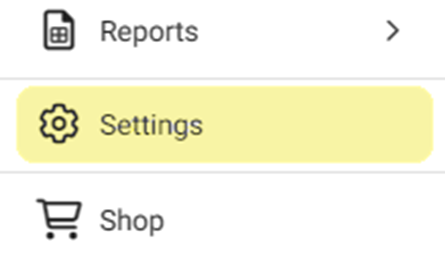
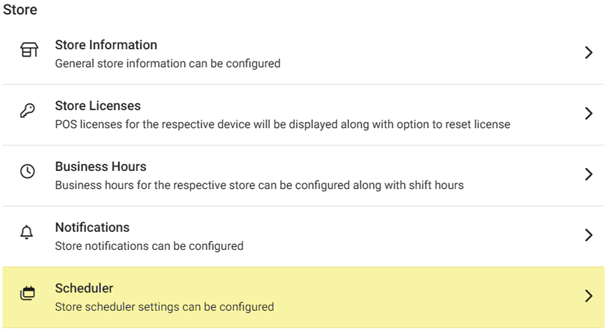
Navigation: Sign into the Back Office for your Store. On the left side, click Settings. On the Settings page, under Store click Scheduler.
- On the Scheduler Settings page, enter or update the following info:
- Business Name – Enter the store’s name.
- Business Type – Enter the store’s type of business.
- Store Phone – Enter the store’s Phone Number (including area code).
- Store Email – Enter the email address to contact the store.
- Start Day of Week – Select the start day of the week from the dropdown.
- Store Address – Enter the store’s address. Use the double diagonal line icon at the bottom right of the field to increase the viewing size.
- Currency – Select the store’s preferred choice of currency from the dropdown.
- Time Zone – Select the store’s time zone from the dropdown.
- Time Format – Select the time format (am/pm [12 hour] and 24-hour) from the dropdown.
- Date Format – Select the date format from the dropdown.
- Temperature Unit – Select the Fahrenheit (F) or Celsius (C) from the dropdown.
- Default Mealtime – Set the default time length of meals in minutes (enter the amount or use up▲ or down▼ arrows to increase/decrease the amount by 1.
- Default Break Time – Set the default time length of breaks in minutes (enter the amount or use up▲ or down▼ arrows to increase/decrease the amount by 1.
- Hours per day – If Enabled (YES), set the overtime Hours per day and set the overtime (x) Pay accordingly by multiple of one (Example: 1.5 = 1.5x the amount of normal pay). If Disabled (NO), overtime per day will not be set.
- Hours per week – If Enabled (YES), set the overtime Hours per week and set the overtime (x) Pay accordingly by multiple of one (Example: 1.5 = 1.5x the amount of normal pay). If Disabled (NO), overtime per week will not be set.
- Holiday – Set a Holiday. Select the Day (calendar view, mm/dd/yyyy [defaults to today]) and entering the Name of the holiday. Click + Holiday to enter a new Day and Name.
- Click the red trash can icon to delete an existing Holiday. A pop-up with the message ‘Are you sure you want to delete this item’ appears with Cancel and Delete options. Click Delete to delete the Holiday. Otherwise, click Cancel/Close to keep the Holiday.
- Once all changes have been made, click UPDATE at the upper-right. The Store Updated confirmation pop-ups appears.
Related Articles
Retail Back Office: Store Scheduler Settings
Navigation: Sign into the Back Office for your Retail Store. On the left-side Navigation Panel, click Settings. On the Settings page, under Store select Scheduler. On the Scheduler Settings page, enter or update the following info: Business Name – ...Back Office: Employees Scheduler
Scheduler provides a view of Employees Details via the Employees screen. To Add, Edit or Delete Employee information - see the Users screen. Only Admin level users are authorized to manage Employee details. Navigation: Log into Back Office for your ...Retail Back Office: Employees Scheduler
Scheduler provides a view of Employees Details via the Employees screen. To Add, Edit or Delete Employee information - see the Users screen. Only Admin level users are authorized to manage Employee details. Navigation: Log into Back Office for your ...Back Office: Home
Navigation: Sign into the Back Office. then select a Store. You should be taken to that store’s Home page. If not, then on the left side navigation, click Home. Tip: Type the name of the Store in the Search bar for quicker Store selection. For every ...Back Office: Store Licenses Settings
Navigation: Sign into the Back Office for your Store. On the left side click Settings. On the Settings page, under Store select Store Licenses. On the Store Licenses page, each currently connected device and its activity is listed: To sign a device ...