Back Office: User Management - Forced Punch In / Out
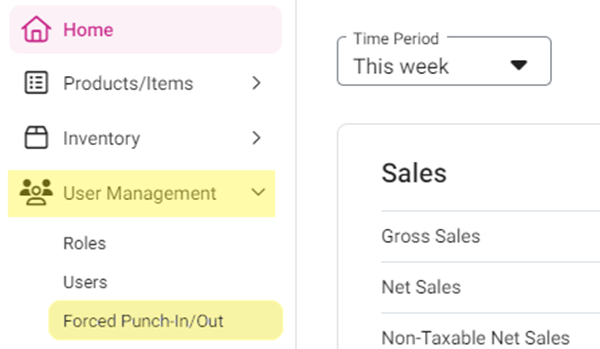
Navigation: Sign
into the Back Office for your Store. On
the left-side navigation panel, select User Management then Forced
Punch-In/Out.
Log a New Punch In/Out Shift
- Click + Time Event. You’re taken to the Time Event page.
- Under the Time Event section:
- Select the Employee from the dropdown. You can search for the employee to quickly find them.
- Select the Business Date (calendar view).
- Select the Role (dropdown options are based on the roles available to the selected Employee).
- Check In – select the Check In Date (Calendar view) and Check In Time (clock view).
- Note: You cannot select a future date.
- Check Out – select the Check Out Date (Calendar view) and Check Out Time (clock view).
- When everything on the new Time Event is set, click Save at the top-right. You're returned to the main Forced Punch-In/Out screen.
View a Saved Time Event
Select the Employee and Date at the
top, then click Apply. The Time Event appears under Time Clock
Log, with Clock-In activity below:
Related Articles
Retail Back Office: User Management - Forced Punch In / Out
Navigation: Sign into the Back Office for your Retail Store, then select User Management > Forced Punch-In/Out. The Forced Punch-In/Out page displays options to view Time Clock and Employee Clock-In events based on Employee, Active/Inactive status, ...Retail Back Office: User Management - Roles
Navigation: Sign into the Back Office for your Retail Store, then select User Management > Roles The Roles page appears, which displays a table of the currently existing Roles within this Retail Store, with the following columns: Create a New Role or ...Back Office: User Management - Roles
Navigation: Sign into the Back Office and select a Store. On the left-side navigation panel, select User Management then Roles. Create or Update a Role On the Roles page, click + New Role at the top-right. You can update a Role by clicking the ...Retail Back Office: User Management - Editing an Existing User
Navigation: Sign into the Back Office. for your Retail Store, then select User Management > Users. On the Users screen: identify the User to be updated and under the Actions column click the corresponding three dots ••• then select Edit. When adding ...Back Office: User Management - Disabling a User from Sign In
Navigation: Sign into the Back Office for your Store. On the left-side navigation panel, click User Management then Users. On the Users screen, under the Actions column click the three dots (•••) for a User then click Disable Sign In. On the User ...