Back Office: User Management - Terminating and Deleting an Existing User
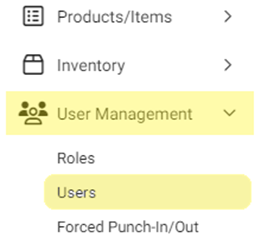
Navigation: Sign into the Back Office for your Store. On the left-side Navigation Panel, click User Management then Users.
- On the Users screen, under the Actions column click the corresponding three dots (•••) for a User then click Edit.
- Scroll
down to Termination Settings (between Address and Payroll). Enter
the Termination Date (calendar selection), and the Termination Reason
(such as voluntarily resignation).
- Click Update at the upper-right. You’re returned to the main Users screen.
- Click the three dots (•••) for the terminated user, then click Delete. The Delete pop-up appears, then click Delete again to confirm (or Cancel / X Close to keep them as Active).
- If deleted, the user will move to Inactive Status. Click the Active button to switch to viewing all Inactive users.
Related Articles
Retail Back Office: User Management - Terminating and Deleting an Existing User
Navigation: Sign into the Back Office for your Retail Store, then select User Management > Users On the Users screen: identify the User (Employee) that's being terminated, then under the Actions column click the corresponding three dots (•••) and ...Retail Back Office: User Management - Editing an Existing User
Navigation: Sign into the Back Office. for your Retail Store, then select User Management > Users. On the Users screen: identify the User to be updated and under the Actions column click the corresponding three dots ••• then select Edit. When adding ...Back Office: User Management - Roles
Navigation: Sign into the Back Office and select a Store. On the left-side navigation panel, select User Management then Roles. Create or Update a Role On the Roles page, click + New Role at the top-right. You can update a Role by clicking the ...Back Office: User Management - Creating or Updating a User
Navigation: Sign into the Back Office for your Store. On the left-side Navigation Panel, click User Management then Users. Create or Update a User On the Users screen: click + New User at the upper-right (or for an existing User select the ...Retail Back Office: User Management - Roles
Navigation: Sign into the Back Office for your Retail Store, then select User Management > Roles The Roles page appears, which displays a table of the currently existing Roles within this Retail Store, with the following columns: Create a New Role or ...