POS: Check Options - Auto Discount
Create an Item Based Discount with an Auto Discount
Navigation: In the Back Office for your Store, select Products/Items > Discounts > Item Based
- Create an Item Based Discount with the Auto Discount toggle enabled.
- Once the Discount is created, the same name will be reflected in the Online Ordering page.
Note:
- Existing functionality remains the same.
- Report impacts will be similar to order placed in Online Ordering.
Online Ordering Admin Page
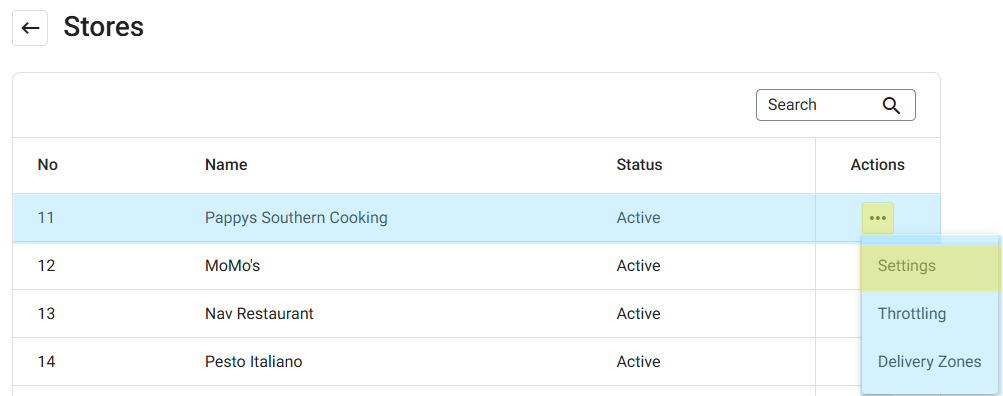
Navigation: In Back Office, select Online Ordering > Stores. On the Stores page, identify a Store to update then under Actions select the corresponding three dots button (...) then Settings.
On the Settings page, under the Check Out section, the Tax Round Off and Auto Discount appears below the Enable Charge Display Name toggle. If enabled (set to YES):
- Tax Round-Off: Tax values are calculated with four decimal places and rounded-off to two decimal places on the final Amount.
- The Menu Item Discount Price will be applied, based on the Item Based Discount created in BO (see the Item Based Discount Knowledge Article).
- The options to Enable Item Based Redemption and Enable Partial Payment appear.
Online Ordering (OLO) / Call Center
Navigation: Log into Online Ordering (OLO). On the OLO page:
- Select a Store, then select the Order Type.
- For the Schedule Your Order pop-up that appears: select ASAP or Future.
- Select the Category then a Menu Item that has an Auto Discount (which was created in BO). When ready, click Add to Cart.
- After clicking on Add to Cart, the order details will be displayed in right-side with price details.
- Upon clicking on Check Out, the Payment screen appears (or the customer can Continue as Guest or Create a new Account). The Auto Discount will appear (as per the Name set in BO), and the discounted value will be shown below Tax row as Discount.
- After completing the payment: the Order will be received in the POS and Confirmation Email will be received with Discount details.
- The Auto Discount will be applied for Repeat Orders.
Virtual Kiosk
Navigation: Scan QR, then log in to Online Ordering Store
- Log in to your Store. Select the Category then a Menu Item with an Auto Discount (which was created in BO). The Auto Discount value will be included below the Menu Item and the Discount amount will appear below the Tax value.
- Click Send to Kitchen. The Order will be received in POS where Payment can be completed.
- The Auto Discount will be applied by default if the Discount created in BO - even if the Allow Auto Discount toggle is disabled.
Notes
- If the customer completes the payment in Online ordering, the Check will be received in POS.
- In POS, upon opening a Check: the Discount details will appear and payment can be completed to close the Sale.