Retail Back Office: Store Business Hours Settings
Navigation: Sign
into the Back Office for your Retail Store. On
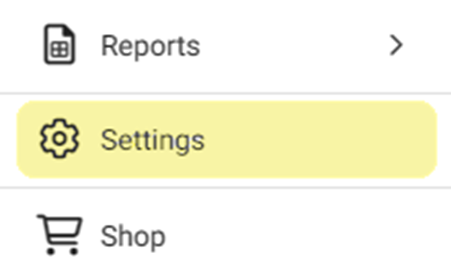
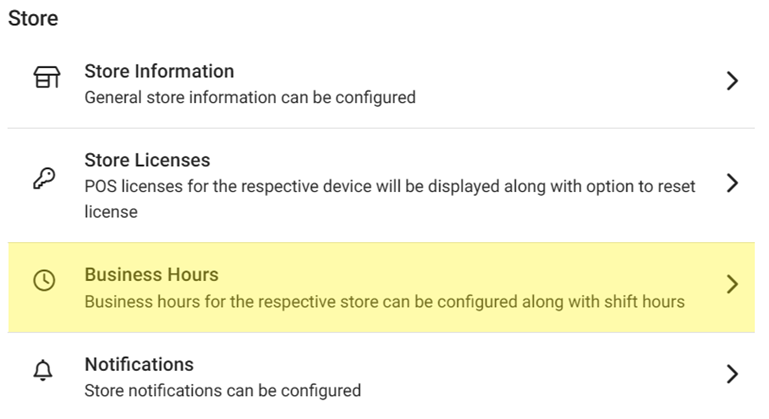
the left-side Navigation Panel, click Settings. On the Settings page, under Store click Business Hours.
On the Business Hours page For
Set Business Hours By, select Store Hours or Shifts.
Store Hours
Shifts
Store Hours
- For each Day, select whether the store is Open or Closed.
- If Open, select the times for when the Store is Open at and Closed at.
- If Closed, the Open at and Closed at fields will be empty.
- Choose whether to Require Confirmation…
- If Yes, a Confirm pop-up appears where you’ll need to confirm that you’ll close each day manually, and if not closed manually multiple days will merge into a single day. Click Cancel or Yes, Reset.
- Select whether to Close All Active Tills and Close All Active Employees.
- Select whether to Close Opened Receipts.
- If Yes, select how you’ll be Closing Opened Receipts (Cash or Void).
- When ready to apply the Store Hours and toggle settings, click Update at the upper-right.
Shifts
Adding a New Shift
- To add a new Shift, click + Add Shift. A new blank row appears.
- Enter the Shift Name.
- Enter the times the Shift will Open at and Closed at. Use the clock view pop-up to select the Time then click OK.
- To remove a Shift, click the Trash Can icon.
- When complete, click Update at the upper-right.
Deleting a Shift
- Identify the Shift to delete, then click the corresponding trash can icon.
- On the Delete pop-up that appears: select Delete to confirm deleting the Shift.
- Select Cancel / X Close to close the pop-up and keep the Shift.
- If Delete was selected. The pop-up is closed, the Shift is removed and the 'Shift Removed Successfully' confirmation appears at the upper-right.
- When complete, click Update at the upper-right.