Retail Back Office: Store Payment Settings
Navigation: Sign
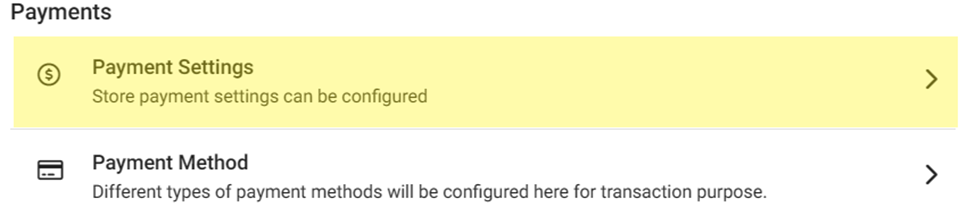
into the Back Office for your Retail Store. On the left-side Navigation Panel, click Settings. On the Settings page, under Payments click Payment Settings.

On the Payments Settings page:
- Tokenize the Credit Card – If Enabled (set to YES): Card details will be saved for the selected (highlighted) Service Type(s).
- Restrict Loyalty Payment on Membership Discount – If Enabled (set to YES): if a Member Discount is applied, then payment via loyalty credit will be restricted.
- Include Service Charge for Refunds - If Enabled (set to YES), then Refunds will include any previously applied Service Charge.
- For the Offline Payment Settings toggle: if enabled (set to YES), the Confirm pop-up appears, with the following notification:
- By enabling offline payments, you are responsible for all payments accepted while offline. Forcing offline payments is performed at the Merchant's risk. As with any payment taken offline, there is a risk of authorization failure based on card status and available funds which can only be determined once reprocessed when online. Also, avoid accepting Debit cards, swipe cards and Manual card entry payments when system is offline.
- Select Confirm to unlock the Offline Payments settings.
- Note the Offline Payments Limitations:
- POS can accept payments when you experience an internet service outage. When you're disconnected from the internet, POS functions are limited:
You should not accept swipe cards or Manual card entry payments when you're offline.Offline transactions do not communicate with the server or cardholders' bank. The following cannot be confirmed, which may cause declined transactions after all operations are restored and the customer is no longer present in the establishment: - If there are sufficient funds on the card
- If the card is not expired
- If the cardholder's account is not closed
- If the card is not stolen
- If the transaction is not fraudulent
- If the Debit card, then it will be decline while processing to Online
- For Each Offline Payment Amount Limit – Each offline transaction(s) has a maximum amount that can be processed. Enter a Limit Amount (numbers only).
- If the entered Amount is greater than the Total Offline Payments Limit amount, the error message ‘Value should be lesser than Total Offline Payment amount limit’ appears.
- Example: If the Total Offline Payments Limit is $500.00, and the Each Offline Payment Amount Limit value is $600.00, the error message appears.
- For Total Offline Payments Limit – The maximum cumulative amount that a payment terminal can process while operating in offline mode. Enter the Maximum Amount.
- If the entered Amount is less than the Each Offline Payment Amount Limit, the error message appears. Only numbers are allowed in this field.
- Example: If the Each Offline Payment Amount Limit is $200.00 and the Total Offline Payments Limit value is $150.00, the error message appears.
- If both fields are set to 0.00, the error message ‘Value should be greater than 0’ appears.
- The Each Offline Payment Amount Limit is valid if it is less than the Total Offline Payments Limit. No error message will appear for valid amounts.
- Note: When Process Offline is done from the Batch screen, the values will be reset from Back Office to zero (0). Until Process Offline is done from the Batch screen: if the Offline limit has passed the Total offline amount entered in Back Office, the Total Offline Payment pop up will continue to show in POS.
Related Articles
Retail Back Office: Payment Method Settings
Navigation: Sign into the Back Office for your Retail Store. On the left-side Navigation Panel, click Settings. On the Settings page, under Payments click Payment Method. The Payment Method page displays a table of Payment Methods that were created ...Retail Back Office: EMV Payment Settings
Navigation: Sign into the Back Office for your Retail Store. Click Settings, then on the Settings page under Payments click EMV Settings. The EMV Settings page displays a table of EMV Settings currently existing for this Store. If no EMVs have been ...Retail Back Office: Layaway Settings
Navigation: Sign into the Back Office for your Retail Store. On the left-side Navigation Panel, click Settings. On the Settings page, under Retail POS click Layaway Settings. The Layaway Settings page enables you to configure layaway conditions, such ...Retail Back Office: Batch Settings
Navigation: Sign into the Back Office for your Retail Store. On the left-side Navigation Panel, click Settings. On the Settings page, under Batch click Batch Settings. On the Batch Settings page: Show Sale Type Transaction in Batch Report – if ...Retail Back Office: Payment Till Settings
Navigation: Sign into the Back Office for your Retail Store. On the left-side Navigation Panel, click Settings. On the Settings page, under Payments select Till Settings. On the Till Settings page, select one of the tabs: Till Settings Denominations ...