Back Office: User Management - Enabling a User to Sign In
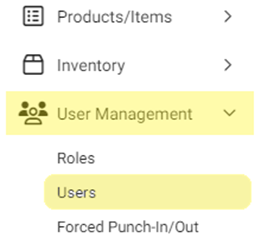
Navigation: Sign into the Back Office for your Store. On the left-side Navigation Panel, click User Management then Users.
- On the Users screen, under the Actions column click the three dots (•••) for a User then click Enable Sign In. The Set Password pop-up appears.
- On the Set Password pop-up: enter the New Password then re-enter the same Password to Confirm. Green circled checkmark means a password requirement has been met. When the new Password is confirmed, click Authenticate.
- You are returned to the main Users screen where the banner 'Sign In Enabled Successfully' appears at the upper-right.
Related Articles
Retail Back Office: User Management - Enabling a User to Sign In
Navigation: Sign into the Back Office for your Retail Store, then select User Management > Users On the Users screen: identify the User to have Sign-In enabled, then under the Actions column click the corresponding three dots ••• and click Enable ...Retail Back Office: User Management - Roles
Navigation: Sign into the Back Office for your Retail Store, then select User Management > Roles The Roles page appears, which displays a table of the currently existing Roles within this Retail Store, with the following columns: Create a New Role or ...Back Office: Employee Report
Navigation: Sign into the Back Office and select a Store. On the left-side, select Reports then Employee. The Employee report page displays a comprehensive set of data on your staff, with the following tabs: Attendance Role Based Payroll Labor Labor ...Back Office: User Management - Disabling a User from Sign In
Navigation: Sign into the Back Office for your Store. On the left-side navigation panel, click User Management then Users. On the Users screen, under the Actions column click the three dots (•••) for a User then click Disable Sign In. On the User ...Back Office: User Management - Roles
Navigation: Sign into the Back Office and select a Store. On the left-side navigation panel, select User Management then Roles. Create or Update a Role On the Roles page, click + New Role at the top-right. You can update a Role by clicking the ...