Back Office: Label Printer Hardware Settings
Sign
into the Back Office.
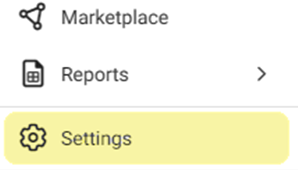
On the left-side Navigation Panel, click Settings.
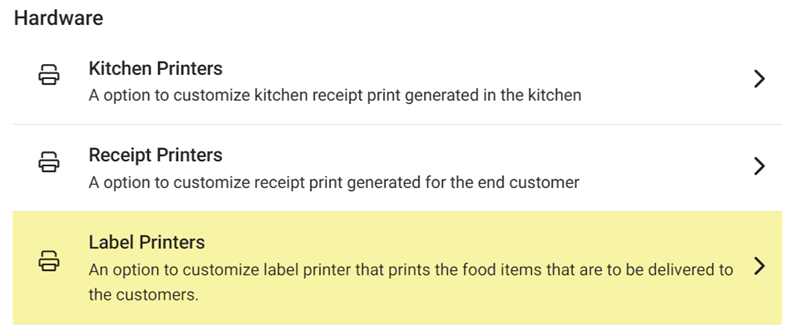
On
the Settings page, under Hardware click Label Printers. The Label Printers page appears.
To add a new Label Printer, click
+ New Label Printer (or to edit an existing Label Printer,
click the corresponding pencil icon  ). The New/Update Label Printers page appears.
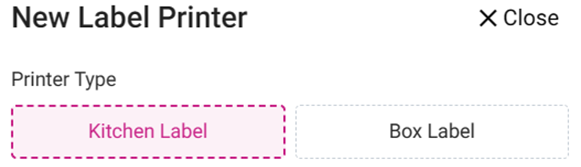
On
the New/Update Label Printer pane, select Kitchen or Box Label.
The below steps will be the same regardless of
selection.
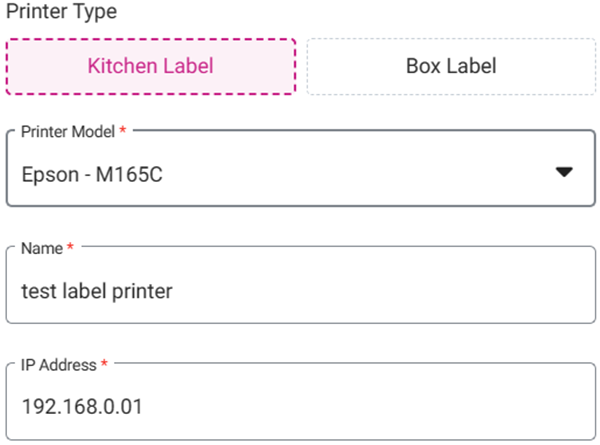
Select
the Printer Model from the dropdown.
Enter
the Name and IP Address of the Printer.
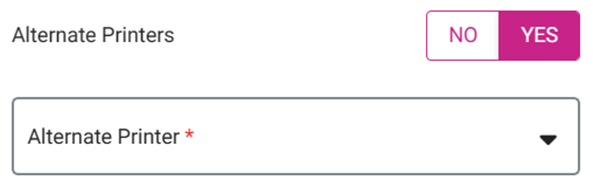
Alternate
Printers – If you'd like to assign an alternate printer for if this current printer will be unavailable, select YES then select the Alternate Printer from the
dropdown.
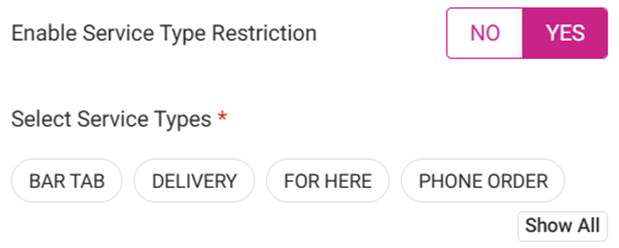
Enable
Service Type Restriction – If YES, select what Service Types won’t
be able to print the Kitchen Label. Click Show All to display all
the Service Type options.
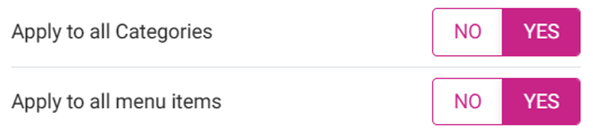
Apply
to all Categories – If YES, then select whether to Apply to all
menu items within a Category.
When all selections have been made, click Save (or Update for an existing Label Printer). You’re
returned to the main Label Printers settings page where the ‘Label
Printer Saved/Updated Successfully’ confirmation message appears at the upper
right. If a new Label Printer was created, it will appear as a new row in the table.

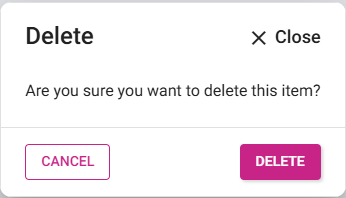
To delete an existing Label Printer: click the corresponding trash can icon  and the Delete pop-up appears. Select Delete to confirm removal of the Label Printer from your network.
Related Articles
Retail Back Office: Label Printer Hardware Settings
Navigation: Sign into the Back Office for your Retail Store. On the left-side Navigation Panel, click Settings. On the Settings page, under Hardware click Label Printers. The Label Printers Settings page displays a table of Label Printers currently ...
Retail POS: Printer Hardware Settings
Back Office For more information on Printer and Receipt Template settings, see the following Knowledge Articles: Receipt Printers Front End Receipt Template Label Template POS On the Hardware Settings page, select the Printer Settings tab. It ...
POS: Operation - Printer Hardware Settings
Back Office For more information on Printer and Receipt Template settings, see the following Knowledge Articles: Receipt Printers Kitchen Printers Kitchen Receipt Template Assigning a Kitchen Printer to a Menu Item Navigation: Log into BO, select a ...
Back Office: Receipt Printer Hardware Settings
Navigation: Sign into the Back Office for your Store. On the left-side, click Settings. On the Settings page, under Hardware click Receipt Printers. The Receipt Printers settings page is broken down by the Printers and Settings tabs. Printers ...
Back Office: Kitchen Printer Hardware Settings
Navigation: Sign into the Back Office for your store. On the left-side, click Settings. On the Settings page, under Hardware select Kitchen Printers. The Kitchen Printers page appears. The Kitchen Printers settings page is broken down by the Printers ...