Retail Back Office: Enterprise - Central Warehouse
Navigation: Sign
into the Back Office. On
the left-side Navigation Panel, click Enterprise. Click Central
Inventory then select Central Warehouse.
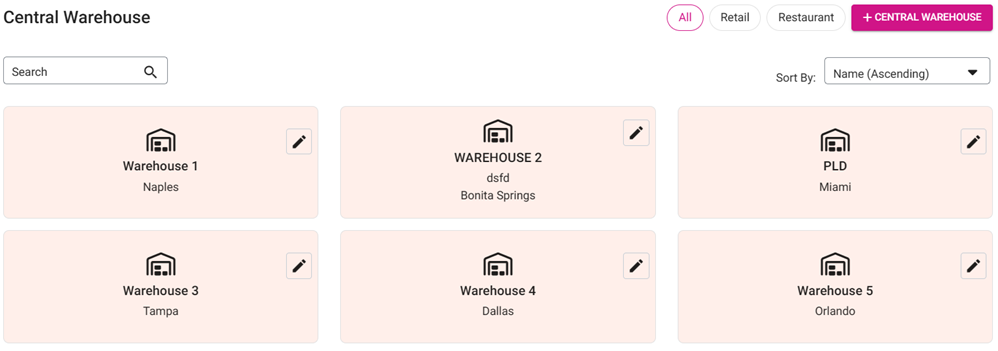
The
main Central Warehouse page contains tiles of existing Warehouses under your Enterprise Account.
Create or Update a Warehouse
- Click + Central Warehouse to create a new Warehouse (or the Edit [Pencil] icon on an existing Warehouse). The New/Update Central Warehouse pane appears.
General - Name – (Mandatory) Maximum of 25 characters.
- Description – To help identify the warehouse. No maximum number of characters.
- Phone Number – Only numbers are allowed.
- Email – The user’s Email Address. Must be valid ([address]@[website].[com/org/etc.]).
Address - Address Line 1 – The number and street name of the store’s location.
- Address Line 2 – Any Unit / Suite / etc. # for the address.
- State – The State of the store’s address.
- City – The City of the store’s address.
- Zip Code – The State of the store’s address. Minimum of 4 and maximum of 15 characters.
- Time Zone – Select the time zone of the store’s address from the dropdown (type in the Search bar to find it more quickly).
- Type – Select Restaurant or Retail from the dropdown.
- Copy Menu From Existing Store toggle (not available when updating an existing Warehouse):
- If Disabled (set to NO), the menu will not be copied from any store.
- If Enabled (set to YES), select a Store (from the options under the Enterprise Account) from the dropdown. Data will copied from the selected Store, and Inventory settings will be based on the Weighted Average.
- Click Save (or Update for an existing Warehouse). You are returned to the main Central Warehouse page, and the confirmation banner appears at the top-right.
- Save – ‘Central Warehouse Saved successfully. Please check back in a few minutes!’.
- Update – ‘Central Warehouse Updated successfully.’
View and/or Change the Settings of an Existing Warehouse (Create PO or Sub Recipe)
On the main Central Warehouse page, click the tile of an existing Warehouse.
- Note: Do NOT click the Edit (Pencil) button.
- Total Value on Hand = Sum of On Hand values of Category + Sub Category.
- Low Stock – Click the Low Stock dropdown to show the Items currently experiencing low stock (based on Min Quantity and Available Quantity). Click View Details to view the Low Stock page with the Inventory and Sub Recipe tabs.
Related Articles
Back Office: Enterprise - Central Warehouse
Navigation: Sign into the Back Office. On the left-side Navigation Panel, click Enterprise. Click Central Inventory then select Central Warehouse. The main Central Warehouse page contains tiles of existing Warehouses under your Enterprise Account. ...Retail Back Office: Enterprise - Push/Pull Data
Navigation: Sign into the Back Office. On the left-side, select Enterprise. On the Enterprise page, select Central Inventory then Push/Pull Data. The Push/Pull Data screen appears, where data can be pulled from one Store/Central Inventory/Central ...Retail Back Office: Enterprise Settings - Account
Navigation: Sign into the Back Office. On the left-side Navigation Panel, click Enterprise, then click Settings. On the Settings page: under the Enterprise Settings section: Account Users – Additional users can be granted access to all Stores and ...Back Office: Enterprise - Push/Pull Data
Sign into the Back Office. On the left-side Navigation Panel, click Enterprise. On the Enterprise page, click Central Inventory then select Push/Pull Data. The Push/Pull Data screen appears, where data can be pulled from one Store/Central ...Back Office: Enterprise - Central Kitchen
Sign into the Back Office. On the left-side Navigation Panel, click Enterprise. On the Enterprise page, click Central Inventory then select Central Kitchen. The main Central Kitchen page contains tiles of existing kitchen - with a Search option, a ...